Docker에 대한 보충 개념 설명 및 Docker를 설치할 VM(가상머신)을 한번 설치해보겠습니다.
Docker?
앞에서 Docker에 대하여 간단하게 설명을 했지만, 한번 더 간략히 설명해 보도록 하겠습니다.

도커는 기존의 리눅스 컨테이너LXC 기술을 이용하여 애플리케이션을 컨테이너로서 사용할 수 있게 만들었고, 설치 후 버전 정보 docker version를 확인해 보면 Go 언어로 구성된 것을 확인할 수 있습니다. 출시 이후 꾸준한 기술 개발을 통해 사실상 컨테이너 가상화를 이용한 차세대 클라우드 인프라 설루션 next generation cloud infrastructure solution의 표준이 되었습니다.
도커에서 사용하는 컨테이너 가상화 기술의 변화에 대해 알아보겠습니다.

초기 도커는 리눅스 컨테이너 기술인 LXC를 기반으로 하는 컨테이너였습니다. 이후 0.9.0 버전부터는 libcontainer OCI5를 이용하였고, 1.11.0 이후 버전부터는 runC OCI를 이용합니다. 현재 버전에 포함된 runC 라이브러리는 운영체제에서 독립적으로 사용되는 일종의 드라이버 입니다. 이를 통해 호스트 운영체 제 의존성이 제거되면서 리눅스 플랫폼에 의존적인 LXC를 대체하게 됐습니다.
그리고 전체적인 구조는 dockerd, containerd 데몬과 runC 라이브러리를 이용해 컨테이너들을 관리하게 됩니다. 도커 컨테이너 기술은 가상화된 공간을 만들기 위해 리눅스 커널에서 컨테이너를 제어하는 chroot, cgroup, namespace API6를 런타임으로 사용함으로써 프로세스 단위의 격리 환경을 만들 수 있습니다.
컨테이너는 호스트 운영체제의 커널을 공유하여 사용하고, 애플리케이션 컨테이너 자체에는 필요한 실행 파일과 라이브러리만 존재합니다. 그래서 만들어진 컨테이너 이미지의 용량이 가상머신의 수 기가 바이트에 비해 수 메가바이트7로 작고, 배포 시간도 빠르다는 특징이 있습니다.
Linux용 Docker Engine
앞에서 얘기했던 CentOS 7 , Ubuntu 18.04 리눅스 배포판8을 기반으로 도커 엔진을 설치해 보겠습니다. 우선, VMware나 VirtualBox 같은 가상머신 프로그램을 윈도우에 설치하고 리눅스를 설치합니다.
VMware player는 VM웨어 홈페이지에서 무료로 다운로드할 수 있고, 나머지 버전은 유료입니다.
오라클의 VirtualBox는 VirtualBox 사이트에서 무료로 다운로드할 수 있습니다. VMware나 VirtualBox로 각 리눅스 운영체제를 설치하려면 설치 파일이 필요합니다. 구글 검색을 이용하여 리눅스 배포판 ISO 파일을 찾아 무료로 설치합니다.
이 글에서 사용되는 실습은 다음과 같이 구성됩니다. 도커 실습: UTM + Ubuntu 25.01 Xenial(LTS)
다음은 도커 엔진 설치를 위해 확인해야 할 사항입니다.
- 지속적인 업데이트가 지원되는 최신 리눅스 배포판을 선택합니다(각 리눅스 홈페이지에서 확인).
- uname -a 명령을 사용해서 리눅스 커널 정보(3.10 이상)와 64비트를 확인합니다(x86_64).
# Ubuntu 18.04 버전에서 조회한 내용.
~$ uname -a
Linux docker-host 5.3.0-28-generic#30~18.04.1-Ubuntu SMP Fri Jan 17 06:14:09 UTC 2020
x86_64 x86_64 x86_64 GNU/Linux
# Ubuntu 20.04 버전에서 조회한 내용.
~$ uname –a
Linux hostos1 5.11.0-37-generic#41~20.04.2-Ubuntu SMP Fri Sep 24 09:06:38 UTC 2021
x86_64 x86_64 x86_64 GNU/Linux- 리눅스 관리자 root 계정을 이용하거나 별도의 도커 관리자 계정을 생성하고 sudo 명령을 통해록 변경합니다(별도의 도커 관리자 계정 사용 권장).
- 그후, 설치를 진행합니다. 설치 이후 usermod 명령을 통해 docker 명령을 sudo 없이 사용할 수 있도록 합니다.
한번, Docker를 설치하기 전에 Docker Edition에 대하여 한번 알아보겠습니다.
| 기능 | Community Edition (CE) | Enterprise Edition (EE) Basic | Enterprise Edition Standard | Enterprise Edition Advanced |
| 오케스트레이션, 네트워크, 보안 기능을 갖춘 컨테이너 엔진 | ✔ | ✔ | ✔ | ✔ |
| 인증된 인프라스트럭처와 플러그인 | ✔ | ✔ | ✔ | |
| 도커 이미지 관리 | ✔ | ✔ | ✔ | |
| 컨테이너 애플리케이션 관리 | ✔ | ✔ | ||
| 도커 이미지 보안 스캔 | ✔ | |||
| 가격 정책 | 무료 | 노드당 $1,500 | 노드당 $3,000 | 노드당 $3,500 |
위의 표는 Docker Edition간 비교한 내용입니다.
- 무료로 이용할 수 있는 Community Edition과 사용인 Enterprise Edition이 있습니다.
- Enterprise Edition은 고객 지원 & 보안, 플러그인, 기업용으로 제공된다는 특징이 있습니다. Container 서비스를 효율적으로 시작 & 관리할 수 있으며, 대규모 클라우드 및 중요 application sevice 사용에 적극적입니다. 보통 분기별로 release 됩니다.
- Community Edition(CE)는 매달 새로운 기능을 먼저 새용하 볼수 있는 Edge 버전과 분기별로 release되는 stable 버전이 있습니다.
- Docker의 버전은 연도 두자리와 월 두자리로 구분됩니다.

Ubuntu에 패키지를 이용한 Docker Community Edition 설치
Docker Engine을 설치 하기 전에, UTM에 Virtual Machine(가상머신)에 Ubuntu 리눅스를 설치해 보겠습니다.
- Ubuntu 다운로드
https://ubuntu.com/download/server/arm
ubuntu.com
- UTM 다운로드
UTM
Securely run operating systems on your Mac
mac.getutm.app
가상머신 생성
UTM을 설치하고 실행하면 아래와 같은 화면이 뜹니다. 여기서 새 가상머신 만들기를 클릭합니다.

Virtualize를 클릭합니다.

Ubuntu를 설치해야함으로 Linux를 클릭합니다.

Browse 버튼을 클릭해서 Ubuntu 이미지를 저장했던 경로를 클릭합니다.

UTM 가상 머신 실행 및 우분투 설치
가상 머신을 시작하면 Ubuntu ISO 이미지가 부팅되고 설치 과정이 시작된다. 설치 시에는 언어, 키보드 레이아웃, 디스크 파티션 등을 설정해야 합니다.
메모리를 설정할때 기본 메모리로 설정된 4기가를 그대로 두고 넘어갑니다. 용량도 그대로 설정합니다.
이제 아래와 같은 화면이 뜨면? 실행 버튼을 눌러서 실행합니다.

로딩 화면 후에 아래와 같은 화면이 나오면?
Try or Install Ubuntu Server를 선택하고 엔터를 눌러 설치를 시작합니다.

언어로는 영어를 선택하고, 엔터를 누릅니다.

화살표 아래키를 통해 밑에 있는 Done으로 이동하고 엔터를 누릅니다.


Storage Layout을 설정하는 부분이 나오는데, Custom storage layout 으로 이동한 후 엔터를 눌러 선택합니다.
그리고 아래의 Done으로 이동하여 엔터를 누릅니다.

Available Devices에서 엔터를 누르고 Add GPT Partition 을 클릭합니다.

여기서 Partition(파티션)이란 ?
파티션(Partition)은 하드 디스크나 SSD와 같은 저장 장치를 논리적으로 분할하여 여러 개의 독립적인 영역으로 나누는 것을 의미합니다.
이러한 분할을 통해 운영 체제는 각 파티션을 별도의 드라이브나 볼륨으로 인식하여 데이터 관리와 시스템 구성을 효율적으로 할 수 있습니다. 파티션을 사용하면 여러 운영 체제를 동일한 디스크에 설치하거나, 시스템 파일과 사용자 데이터를 분리하여 보안과 성능을 향상시킬 수 있습니다.
루트 파티션 (Root Partition)
루트 파티션은 리눅스 및 유닉스 계열 운영 체제에서 가장 중요한 파티션으로, 파일 시스템의 최상위 디렉토리인 "/"(슬래시)를 나타냅니다. 모든 파일과 디렉토리는 루트 디렉토리를 기준으로 계층 구조를 형성하며, 시스템의 핵심 파일, 설정 파일, 응용 프로그램, 라이브러리, 사용자 데이터 등이 모두 포함됩니다.
- 역할과 중요성: 루트 파티션은 시스템 부팅 시 커널과 주요 시스템 파일을 로드하는 데 필수적입니다. 시스템의 안정성과 성능은 루트 파티션의 구성과 관리에 크게 좌우되므로 신중한 설정이 필요합니다.
- 파티션 분할의 이점: 루트 파티션 외에도 /home, /var, /boot 등의 디렉토리를 별도의 파티션으로 분리하면 보안 강화, 시스템 복구 용이성, 디스크 공간 관리 등의 이점을 얻을 수 있습니다.
UTM에서 Ubuntu를 설치할 때 루트 파티션은 Ubuntu의 모든 시스템 파일과 응용 프로그램을 저장하는 기본 공간으로 사용됩니다. 이는 가상화 환경에서도 물리적 시스템과 동일한 파일 시스템 구조를 유지하도록 도와줍니다.
스왑 파티션 (Swap Partition)
스왑 파티션은 시스템의 물리적 메모리(RAM)가 부족할 때 사용되는 가상 메모리 공간입니다. 운영 체제는 현재 사용하지 않는 메모리 페이지를 스왑 공간으로 이동시켜 RAM의 사용 효율을 높이고, 더 많은 응용 프로그램을 실행할 수 있도록 합니다.
- 동작 방식: 스왑 공간은 디스크의 일부를 사용하므로 RAM보다 속도가 느리지만, 시스템이 메모리 부족으로 인해 멈추거나 크래시되는 것을 방지하는 안전망 역할을 합니다.
- 스왑 파일 대안: 현대의 리눅스 시스템에서는 스왑 파티션 대신 스왑 파일을 사용할 수도 있습니다. 스왑 파일은 필요에 따라 크기를 조정할 수 있어 유연성이 높습니다.
UTM에서 Ubuntu를 설치할 때 스왑 파티션을 생성하는 것은 선택 사항입니다. 가상 머신은 호스트 시스템의 메모리를 사용하므로, 호스트 메모리가 충분하다면 스왑 없이도 원활한 운영이 가능합니다. 그러나 메모리 집약적인 작업을 수행하거나 시스템의 안정성을 높이고 싶다면 스왑 파티션이나 스왑 파일을 설정하는 것이 좋습니다.
다시 본론으로 돌아와서 아래와 같이 이렇게 Disk를 분할해주면 됩니다.
Size: 61.000G
Format: ext4
Mount: /
Size: 1.000G
Format: ext4
Mount: /boot
Size: 971.000M
Format: SWAP
Mount: /SWAP
그리고 정보 설정을 해줍니다.

그후, 아무것도 건들지 말고 Done만 눌러주면 됩니다.

설치 중일땐 이 화면이 나옵니다.

아래와 같이 위쪽 주황색 부분에 Install complete! 라고 뜨면 설치가 완료된 것입니다. 이제 이 창을 끄고 다시 실행합니다.

Ubuntu가 설치된 UTM 가상 머신 실행
Ubuntu 실행: 실행 전에 다음의 화면 처럼 보일텐데, UTM을 실행하면 나오는 첫 화면에서 CD/DVD를 클릭하고 clear 버튼을 클릭합니다.

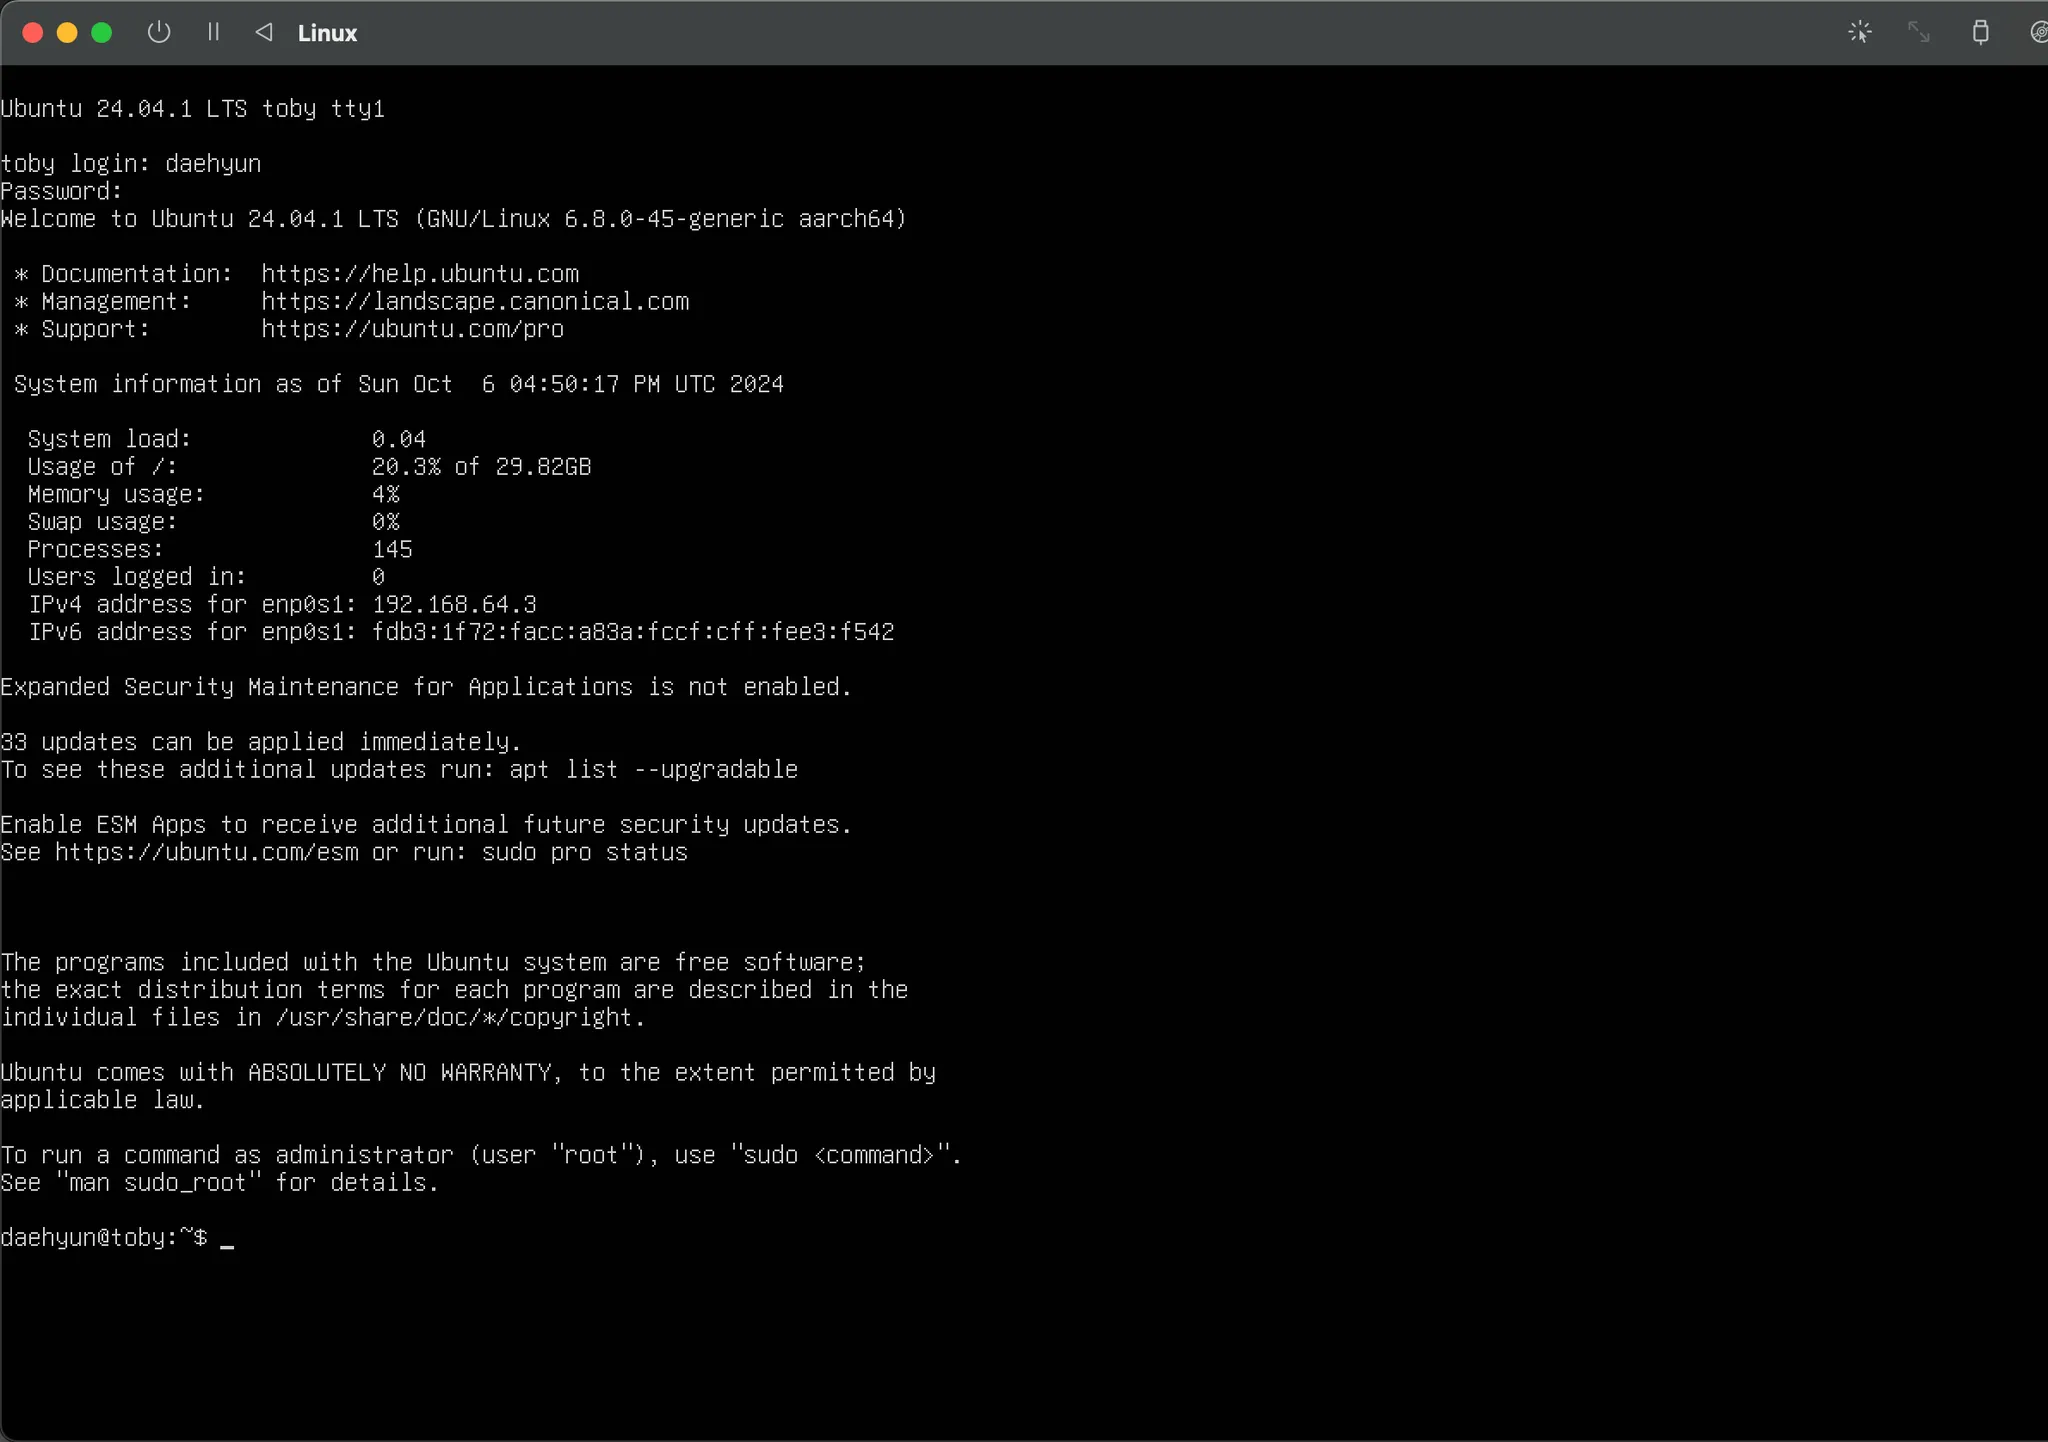
로그인 하면 다음과 같이 나옵니다.
GUI 설치
우리가 알고 있는 Linux의 Desktop의 형태로 바꾸기 위해 GUI를 설치해보겠습니다.
가상 머신을 다시 실행하고 로그인 한 후 다음의 명령어를 입력합니다.
sudo apt update
sudo apt install ubuntu-desktop
설치가 완료되면 아래의 명령어를 입력해서 재부팅 해줍니다.
sudo reboot
설치가 완료되면? 아래의 화면처럼 나옵니다.

ps. 다음글에 Docker Community Edition을 설치하는글로 돌아오겠습니다.
'☁️ Cloud Native > 🐳 Docker' 카테고리의 다른 글
| [Docker] Docker Container 명령어 (with Ngnix Container 실행) (0) | 2024.11.05 |
|---|---|
| [Docker] Docker 명령어 활용 Part.2 (0) | 2024.10.31 |
| [Docker] Docker 명령어 활용 Part.1 (0) | 2024.10.31 |
| [Docker] Docker Installation Check (도커 설치 확인) (0) | 2024.10.11 |
| [Docker] Ubuntu에 Docker Community Edition (CE) 설치 (0) | 2024.10.08 |